DIY Nontoxic Slime Recipe Without Borax (3 Safe & Squishy Options!)
on May 22, 2026, Updated Jun 22, 2026
This post may contain affiliate links. Please read our disclosure policy.
I’m always on the lookout for frugal things to do with my kids. Last summer, we went on a full-on slime-making kick — and it was one of the best decisions we made. Super fun, surprisingly easy, not even too messy, and you only need a few household ingredients to make a nontoxic slime recipe without borax or glue.
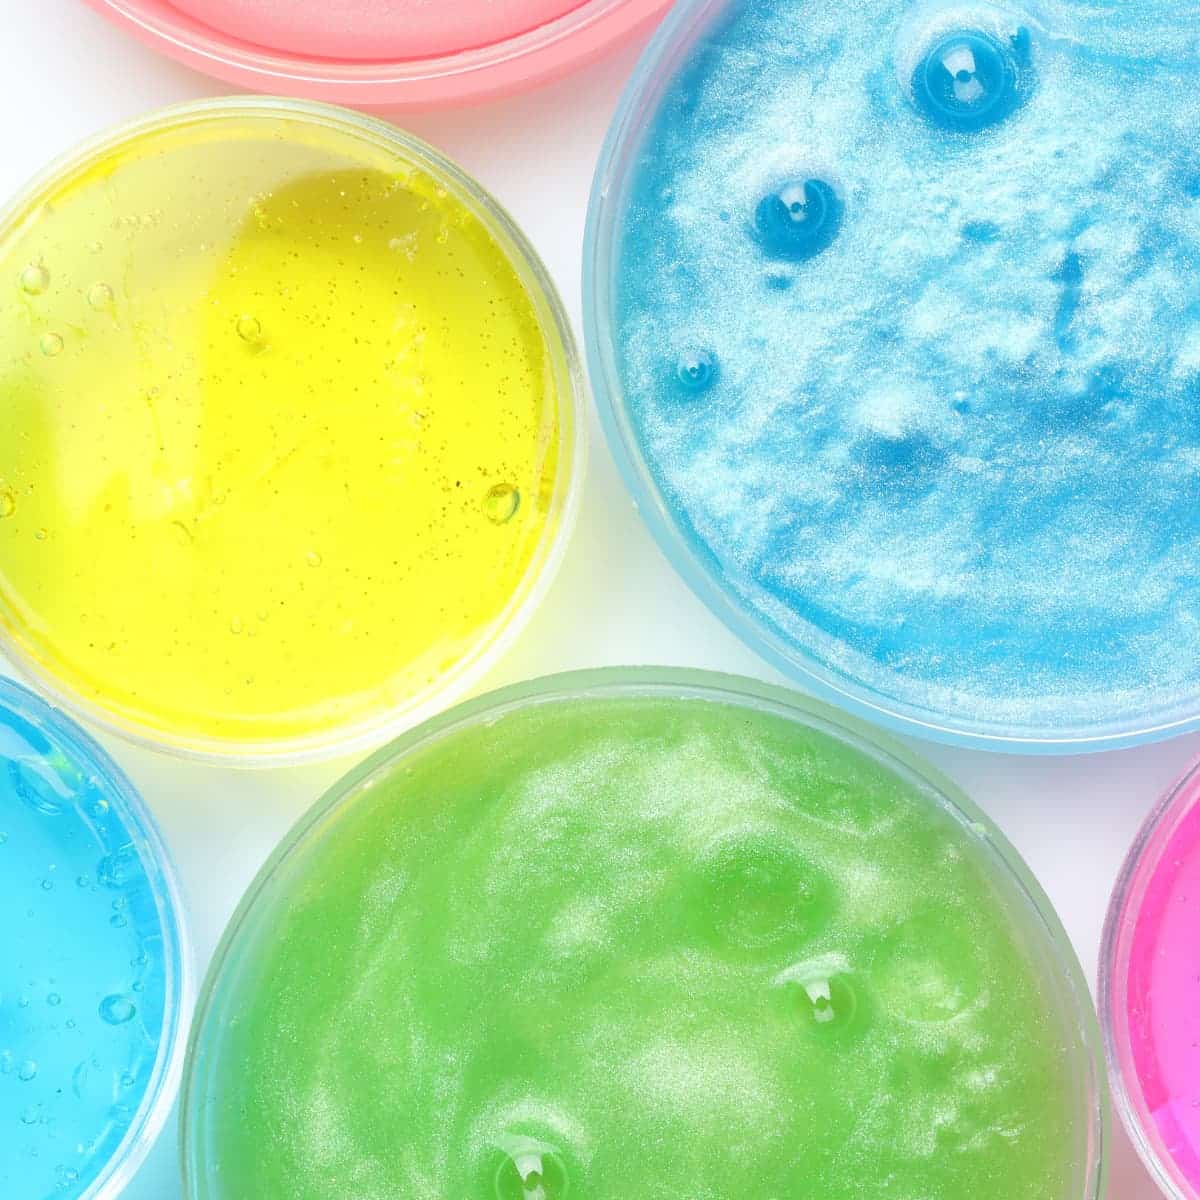
Homemade slime provides hours of sensory fun for little ones (and adults, too!). It’s squishy, squelchy, stretchy, and endlessly customizable. And when you skip the borax and use safe, nontoxic ingredients, you can let the kids go wild without worry.
Skip the fidget spinners! Make slime instead.
Table of Contents
- Why Make Nontoxic Slime Without Borax?
- A Note on Texture
- Recipe 1: Cornstarch Oobleck Slime
- Recipe 2: Marshmallow Slime (Edible!)
- Customize Your Slime: Fun Add-Ins
- Slime Troubleshooting: Common Problems & Fixes
- Frequently Asked Questions
- Bonus: Borax Slime (For Comparison & Older Kids)
- More Frugal Family Fun
Why Make Nontoxic Slime Without Borax?
Go to any kid’s birthday party and at least one gift will be a slime kit. Many commercial slime kits — and even popular homemade recipes — use borax or contact lens solution (which contains boric acid). These aren’t necessarily dangerous for older kids, but if your little ones are prone to putting things in their mouths, nontoxic ingredients are simply the smarter choice.
Skipping borax doesn’t mean sacrificing fun. These recipes use pantry staples you probably already have, and they sneak in a little kitchen chemistry lesson along the way.
Note on contact lens solution slime: Even recipes that use saline or contact lens solution as a “borax-free” alternative still contain boric acid, which can cause skin irritation with prolonged play. The recipes below skip it entirely.
Pin this now to find it later
Pin ItCommon Ingredients for Slime without What You Need: Common Nontoxic Slime Ingredients
- Cornstarch
- Flour
- Coconut oil
- Marshmallows
- Powdered sugar
- Food coloring (or natural fruit-based dyes)
- Cocoa powder
- Gummy candies like Starbursts
Most of these are probably already in your pantry — making this a truly frugal activity!
A Note on Texture
Kid-safe slime recipes made without borax and glue will not have the exact same stretchy texture as traditional slime. That’s just the reality of using nontoxic ingredients. But trust me — they are still an absolute blast, and younger kids especially won’t even notice the difference.

Recipe 1: Cornstarch Oobleck Slime
Best for: Ages 2+ with supervision | Makes: 1 bowl of slime | Time: 5 minutes
The most classic nontoxic slime is oobleck — a cornstarch-and-water mixture that behaves like a solid when you squeeze it and a liquid when you let it rest. It’s a real-life non-Newtonian fluid, which makes it endlessly fascinating for kids (and adults!).
This is my go-to for younger kids who might still put things in their mouths. Cornstarch is nontoxic — just don’t let them eat large amounts of it.
Ingredients
- 1 cup cornstarch
- ½ cup water
- Food coloring (optional)
Instructions
- Add the cornstarch to a wide, shallow bowl.
- Slowly pour in the water, stirring as you go.
- Add a few drops of food coloring if desired and mix until combined.
- Adjust consistency: too watery? Add more cornstarch a tablespoon at a time. Too crumbly? Add water a teaspoon at a time.
- Let the kids dig in! Encourage them to squeeze it, poke it, and observe how it changes.
Tip: Oobleck is best played with in the bowl — it doesn’t stretch or hold its shape the way glue-based slime does. It behaves like a solid when pressure is applied and a liquid when released. That’s the magic!
Storage: Oobleck can be stored in an airtight container at room temperature for 2–3 days. Stir or add a tiny splash of water to refresh it if it dries out.

Recipe 2: Marshmallow Slime (Edible!)
Best for: Ages 3+ | Makes: 1 small batch | Time: 10 minutes | Play time: ~30 minutes
This one is a fan favorite in our house. Kids go wild watching the marshmallows puff up in the microwave, and the final result is a stretchy, slightly sticky, totally edible slime. It’s also a great option for kids with sensory sensitivities, since you control every ingredient.
Ingredients
- 2 oz. mini marshmallows (about 1 cup)
- 1 tablespoon coconut oil
- 3 tablespoons cornstarch (or powdered sugar — see note below)
- Food coloring (optional)
Instructions
- Place the marshmallows in a microwave-safe bowl.
- Microwave for about 30 seconds, until the marshmallows puff up significantly.
- Remove from microwave (carefully — the bowl will be hot!) and stir in the coconut oil until smooth.
- Add food coloring if desired.
- Begin adding the cornstarch one tablespoon at a time, mixing between additions, until a slime-like texture forms.
- Let cool slightly before handing off to the kids.
Cornstarch vs. Powdered Sugar: Cornstarch produces a better, less sticky texture. Powdered sugar is sweeter and slightly stickier but works well if cornstarch isn’t on hand.
Heads up: Marshmallow slime will stiffen as it’s played with due to the cooling of the sugar. Expect about 30 minutes of prime slime time per batch. It’s easy to whip up a fresh batch, so make it part of the fun!
Storage: Store in an airtight container in the refrigerator. Discard after 2–3 days or at any sign of spoilage or off smell.

Customize Your Slime: Fun Add-Ins
Half the fun of homemade slime is making it your own. Here are some add-in ideas:
For edible slimes (marshmallow version):
- Crumbled cookies or graham crackers
- Cereal flakes
- Sprinkles
- Mini chocolate chips
- Dried fruit
For non-edible slimes (oobleck):
- Glitter (fair warning: it gets everywhere — 0/10 from this mom 😄)
- Small plastic beads
- Small washable toys
- Kinetic sand
To add color naturally: Use fruit-based food dyes, beet juice, or turmeric for a chemical-free pop of color. Or just use standard food coloring — a little goes a long way!

Slime Troubleshooting: Common Problems & Fixes
Slime is part science experiment, and consistency can be finicky. Here’s what to do when things go sideways:
| Problem | Fix |
|---|---|
| Too runny / watery | Add more cornstarch, 1 tablespoon at a time |
| Too dry / crumbly | Add water (or oil for marshmallow slime), 1 teaspoon at a time |
| Too sticky | Dust hands and slime with a little extra cornstarch |
| Marshmallow slime hardening too fast | It’s cooling — warm it briefly in the microwave for 5–10 seconds |
| Color not mixing evenly | Add food coloring to the liquid before combining with the dry ingredients |
Frequently Asked Questions
How do I add color to nontoxic slime? Add a few drops of food coloring to the water before mixing with cornstarch, or use natural alternatives like beet juice (pink/red), turmeric (yellow), or spirulina powder (green).
How long does nontoxic slime last? Cornstarch oobleck lasts 2–3 days in an airtight container at room temperature. Marshmallow slime should be refrigerated and discarded after 2–3 days or at any sign of spoilage. Honestly? It’s fast to make, so I usually just make a fresh batch each time.
Is nontoxic slime really safe if my toddler eats some? The cornstarch and marshmallow recipes are made entirely from food-grade ingredients. That said, they’re not meant to be meals — always supervise young children during play.
What’s the best age for slime play?
Borax slime: Best saved for ages 8+ who understand not to ingest it
Cornstarch oobleck: Ages 2+ with supervision
Marshmallow slime: Ages 3+
Bonus: Borax Slime (For Comparison & Older Kids)
⚠️ Safety note: Borax can cause skin irritation and rashes with prolonged contact. This recipe is best for older children (8+) who understand not to eat it and can wash their hands thoroughly after. Never allow younger children to play with borax slime unsupervised.
After making the nontoxic versions, we also made a classic borax slime — purely as a science experiment to compare textures. It’s a great way to spark a conversation about chemistry, polymers, and why different ingredients produce different results.
Ingredients
- 1 teaspoon borax
- 1½ cups water (divided)
- ½ cup white school glue
- Food coloring
Instructions
- In one bowl, dissolve the borax in 1 cup of water. Stir until fully dissolved.
- In a second bowl, mix the glue, remaining ½ cup of water, and food coloring.
- Slowly pour the borax solution into the glue mixture while stirring.
- Watch the slime form! Knead it with your hands until it reaches your desired consistency.
- Wash hands thoroughly after play.
The texture difference between borax slime and the nontoxic versions is dramatic — and noticing that difference is itself a wonderful science lesson.
Note: Borax has been known to cause rashes or skin irritation. Do not ingest it or allow your kids to ingest it.
More Frugal Family Fun
Love activities like this? Here are some more ideas from the blog:
- Homemade Slime Making Kit Ideas
- Squirt Gun Canvas Art: Creative Fun That Inspires!
- 19 Fun and Easy Garden Activities for Kids
Have you tried one of these recipes? I’d love to hear how it went — especially if you discovered a new add-in or a consistency trick I haven’t tried yet! Drop a comment below. 👇


I did this earlier this summer. So much fun for my boys. It keeps great in a zip top bag. I store it with all the play dough so the kids can have stuff to do without needing to make stuff all the time. Easy enough to make and pitch to though too so either way it is a win win.
This is exactly the kind of stuff I love. It looks like so much fun!
New follower from Musings of an Imperfect Mom
Worked great!