I Forgot to Feed My Sourdough Starter: Will It Survive?

on Oct 23, 2026
This post may contain affiliate links. Please read our disclosure policy.
If you’re looking for tips on feeding sourdough starter, I have them in spades! I started my sourdough journey in March 2020, when flour was rarer than toilet paper and everyone suddenly became an amateur baker.
After more than six years of sourdough baking, countless sourdough starter feeding sessions, so many mistakes, and more dense loaves than I care to admit, I’ve learned more about keeping a successful sourdough starter than I know about feeding my teenagers. 😉
I also learned that sourdough starters are nearly impossible to kill. I’ve neglected mine for months at a time and still managed to bring it back to life.
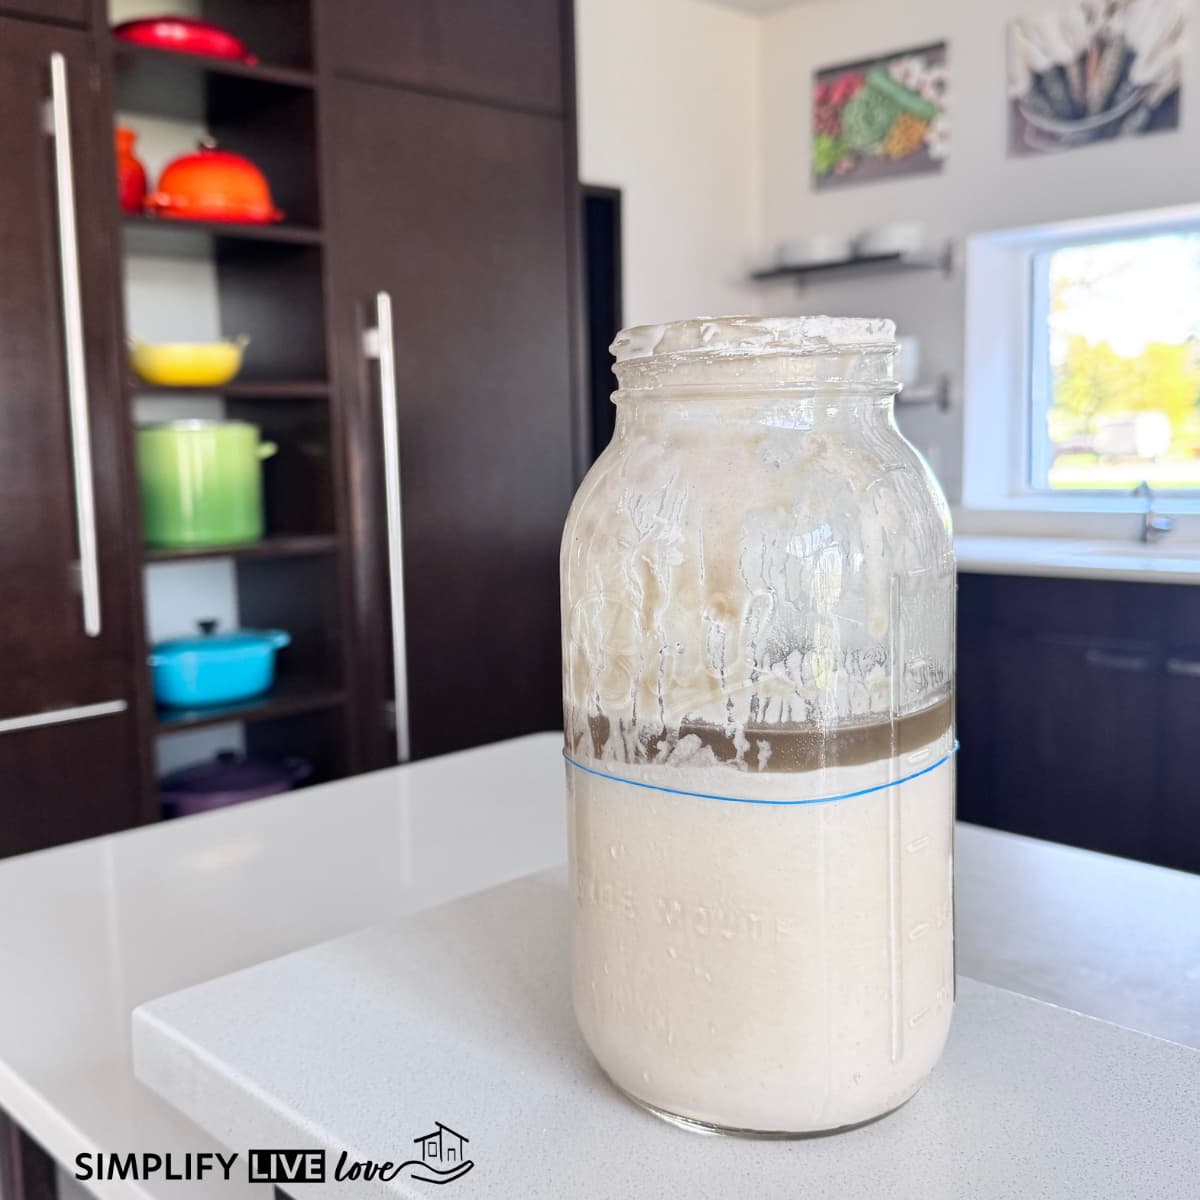
Though I did discover one surefire way to kill it: leaving it out on the counter in summer without feeding it. Trust me, that science experiment in mold is not something you want to see (or smell). That one time is the only time I have ever killed a sourdough starter. If you don’t leave your starter out to die a slow death, you can be pretty confident that you won’t kill yours either.
Feeding Sourdough Starter: Quick Overview
Don’t have time to read the whole article? Here’s what you absolutely must know about feeding sourdough starter:
- Feed your starter equal parts flour and water by weight (1:1:1 ratio).
- For a basic feed, use 50g starter, 50g water, and 50g flour.
- Feed twice daily at room temperature or weekly in the fridge.
- Forgot to feed it for a day? It’s fine. Discard all but about 50g and feed it as usual. It should double again within 12 hours.
- Don’t worry too much. Your starter will survive more neglect than you think is possible.
Here’s an easy sourdough bread recipe and here are 31 yummy sourdough discard recipes.
Table of Contents
Forgot to Feed Your Sourdough Starter? Here’s What to Do
Don’t panic. I’ve neglected my starter more times than I’d like to admit, and it has only died on me once. Here’s how to bring yours back, based on how long it’s been.
Forgot to Feed Sourdough Starter for a Day
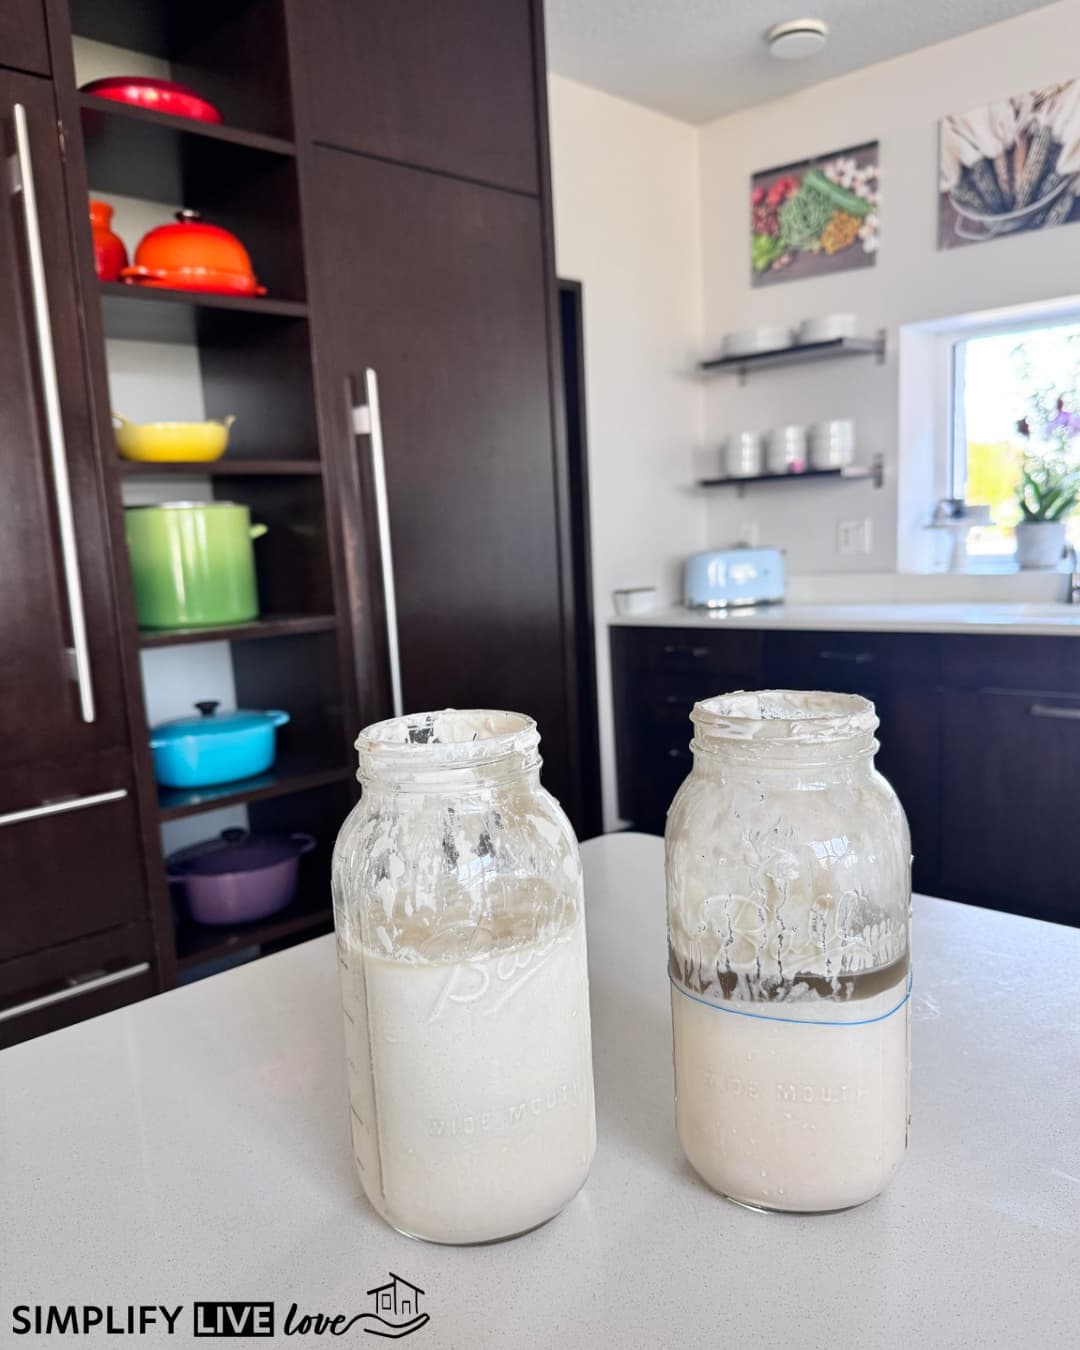
One missed feeding is no big deal. Your starter will look flat and may have a layer of hooch on top.
- Pour off the hooch, or stir it in for a tangier flavor.
- Discard all but 50g of starter.
- Feed 50g flour and 50g water (1:1:1).
- Mark the level with a rubber band and let it sit somewhere warm.
Expected timeline: It should double within 4 to 12 hours. If it does, you’re back on schedule.
Forgot to Feed Sourdough Starter for 2 Days (or 3)
After 2 or 3 days on the counter, your starter is very hungry. Expect more hooch, a sharp or vinegary smell, and sluggish rising.
- Check for mold first. Fuzzy spots or pink or orange streaks mean it’s time to toss it and start over.
- Pour off the hooch.
- Discard most of it. Keep just 25 to 50g.
- Feed a bigger meal. Use a 1:2:2 ratio (for example, 25g starter, 50g flour, 50g water).
- Repeat every 12 hours until it doubles within 4 to 8 hours of feeding.
Expected timeline:
- Feeding 1: little or no rise
- Feedings 2 to 3 (day 1 to 2): bubbles return and it starts to rise
- Day 2 to 3: doubling reliably and ready to bake
Left Unfed on the Counter for a Full Day in Warm Weather
Heat speeds everything up. A full day unfed in summer is like several days at normal room temperature. This is the one way I’ve ever killed a starter, so check it carefully.
- Look for mold. If you see any, throw it out.
- A strong nail polish or acetone smell is normal for a starving starter. It goes away after a feeding or two.
- Discard all but 25g and feed 1:2:2 or even 1:4:4. The bigger meal keeps it from running out of food too fast.
- Feed every 12 hours, or every 8 hours if your kitchen is above 80°F.
- Once it’s healthy again, move it to the fridge during hot spells.
Forgot to Feed It for a Week or More
If it was in the fridge, you’re fine. A refrigerated starter can go weeks without food. Pour off the hooch, let it come to room temperature, and follow the 2-day steps above. Plan on 2 to 4 days of twice-daily feedings before baking.

Sourdough Speak: A Quick Guide to Starter Terminology
Before we dive in, take a look at some of the sourdough lingo that made me feel like I needed a science degree when I first started down my sourdough journey:
Hooch: That suspicious-looking liquid on top of your starter. Think of it as your starter’s way of saying “I’m hungry!” (Not, as I initially feared, a sign of fermented doom.)
Wild Yeast: The natural yeast (and friendly bacteria) that make your starter rise.
Feeding Ratio: The proportion of starter to flour to water. Yes, math is involved, but I promise it’s easier than helping your kids with Common Core.
Unfed Starter: Also known as “discard,” it’s what’s left when you remove some starter for feeding. Like your starter’s leftover takeout container, it’s still good for lots of things (pancakes, waffles, crackers) even though it’s not ready for bread-making.
Active Starter: A starter that’s bubbling and ready to go.
Mature Starter: A starter that’s been fed and is at peak activity.
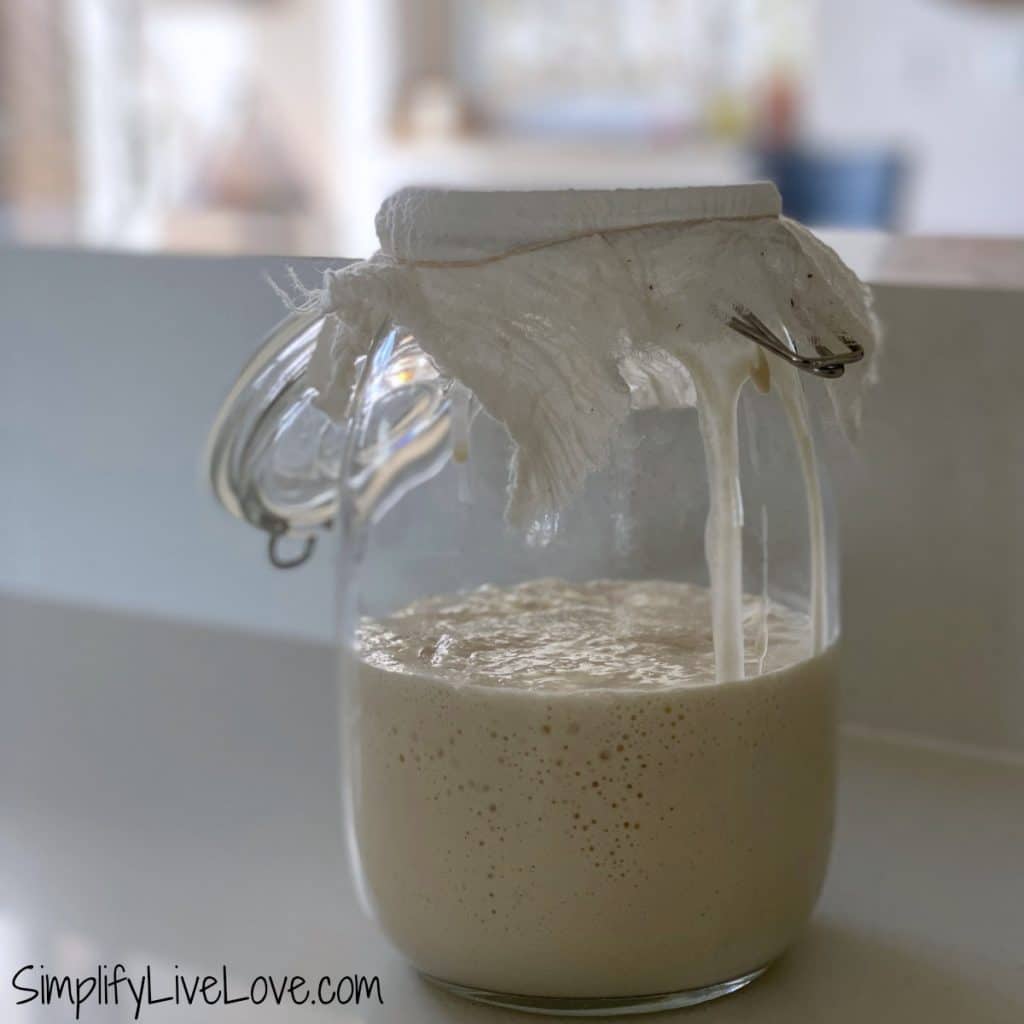
How Much to Feed Your Sourdough Starter
Remember when I said sourdough is hard to kill? Well, I’ve tested this theory extensively through what I like to call “accidental experiments in neglect.” Your starter is basically the teenager of the kitchen. It can sleep forever, eat everything in sight, and somehow still survive your worst parenting moments.
For everyday feeding, here’s all you need:
- Standard feed: 50g starter, 50g water, 50g flour (1:1:1)
- Hungry or neglected starter: 25g starter, 50g water, 50g flour (1:2:2)
- Small starter to reduce waste: As little as 25g starter, 25g water, 25g flour

Essential Tools for Feeding Your Sourdough Starter Successfully
I started out thinking I needed every fancy tool in the baking aisle. Now, I’ve narrowed down the exact tools that make feeding your starter easier and more consistent. I resisted using some of these tools at first (especially the scale), but they’ve become invaluable to my process.
- Digital scale (trust me, this changed everything)
- Measuring bowl: my favorite, durable glass nesting bowl set
- Wooden spoon or silicone spatula
- Two jars (one for the active starter and one for the discard). I recommend a 1/2 gallon, wide mouth jar for the starter you’re feeding if you intend to bake a lot.
- Cheesecloth
- Rubber bands
- Lid for the discard
The No-Fail Feeding Process for Your Sourdough Starter
Look, I’ve made this way more complicated than necessary in the past. It’s like following a recipe for making ice: you’re overthinking it. Here’s what actually works:
- Scoop out 50 grams of starter
- Add 50 g water (room temp, not hot tub temperature)
- Add 50 g flour
No scale? No problem (though seriously, get a scale):
- 1/4 cup starter
- 1/4 cup of water
- 1/2 cup flour

Best Flour Types for Feeding Your Sourdough Starter
Through lots of trial and error, I’ve experimented with every flour type I could find. Each one creates slightly different results, and I’ve learned to appreciate their unique qualities. Here’s what I’ve discovered:
- White flour: My daily go-to for consistent results
- Whole wheat flour: For a nutty boost
- Rye flour: Creates my most intense starter
- Mix of flours: My favorite is 80% white, 20% rye for the perfect balance
A note about bread flour: While it’s fantastic for making actual bread, you don’t need to spend extra money on it just for feeding your starter. Save your bread flour for the actual bread-making. Your starter will be just as happy with regular all-purpose flour for its daily meals.
Sourdough Starter Feeding Schedules and Ratios
Over the years, I’ve developed different feeding schedules based on my baking needs. I’ve learned that sourdough starters are incredibly adaptable. They’ll work with your schedule if you understand the basics.
Room Temperature Maintenance (The High-Maintenance Schedule)
I keep my starter at room temperature when I’m baking frequently. Here’s my routine:
- Feed every 12 hours (twice daily)
- Keep at ambient temperature (70-85°F)
- Watch for doubling between feedings
Refrigerated Storage (The Lazy Baker’s Method)
This is my go-to method when life gets busy. I’ve left my starter in the fridge for up to two months and successfully revived it:
- Feed once weekly
- Perfect for the more casual sourdough baker
- Let reach room temperature before feeding
Different Feeding Ratios
I adjust these based on my baking schedule:
- 1:1:1: My standard maintenance ratio
- 1:2:2: A higher ratio when my starter is extra hungry (neglected) and needs more food
Troubleshooting Your Sourdough Starter: Common Problems Solved
After making pretty much every mistake possible, I’ve learned that most starter problems are easy to fix. Here’s what I’ve learned about common issues:
Signs Your Starter Is Hangry
Don’t panic if you see:
- Liquid on top (hooch): just stir it back in
- Sour smell: totally normal
- Deflated appearance: time to feed
- Needs more frequent feedings: adjust your schedule
Temperature Effects on Your Starter
My starter acts completely different in summer versus winter, and I need to adjust my feeding schedule seasonally:
- Warmer temperatures = faster fermentation
- Colder environment = slower activity
Pro Tips for Sourdough Starter Success
After years of baking, these are my top tips that I wish I’d known from the start. First, you don’t need a huge starter. Smaller is actually better. Second, temperature matters more than most people realize.
- Maintain a smaller starter to reduce waste (I keep just 100g total)
- Use lukewarm water for better activity
- Track your fermentation speed, if you really want to go nuts
- Watch how your starter changes with the seasons
- Adjust ratios based on your baking schedule
How to Store Your Sourdough Starter Without Killing It
Remember my moldy summer disaster? Let’s avoid that. Here’s what actually works:
Short-Term Storage
When I’m baking weekly, I keep my starter ready to go:
- Room temperature storage
- Fresh clean jar as needed
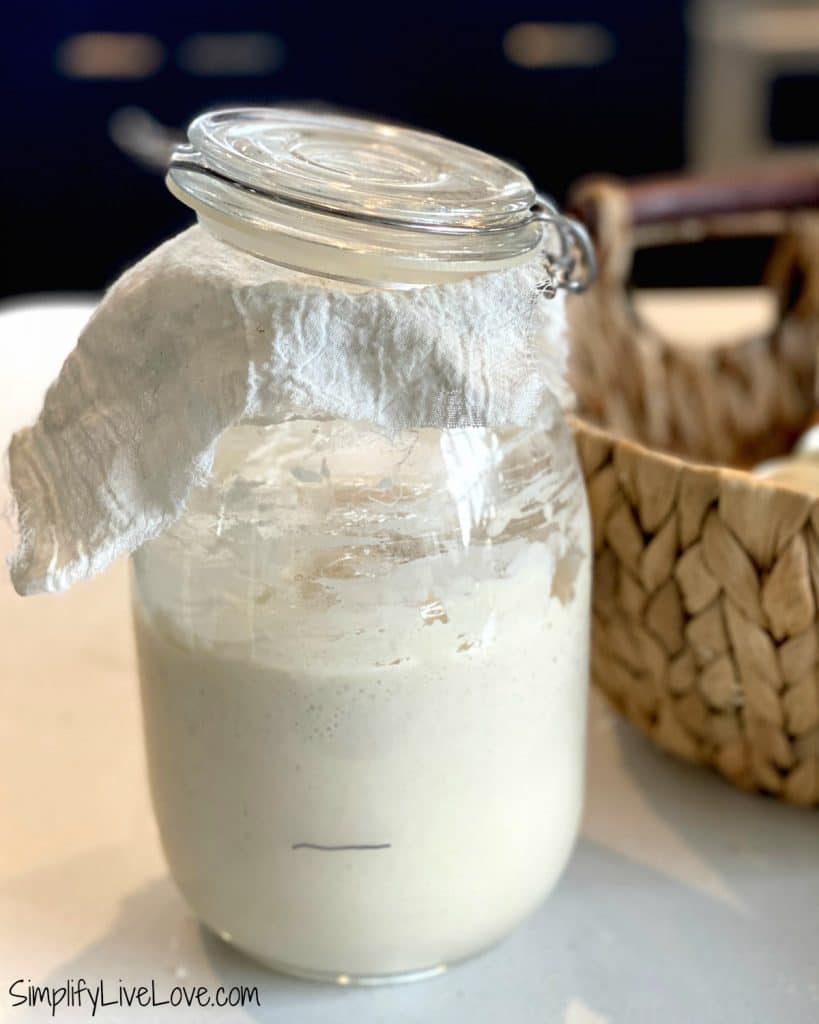
- Rubber band to track growth (my favorite trick)
Long-Term Storage
This is my method when life gets busy:
- Refrigerated starter keeps for months
- Feed once before refrigerating
- Always comes back to life within 2 to 3 feedings
How to Tell Your Starter Is Ready to Use
I’ve learned to read my starter’s signals like a book. After hundreds of loaves, I know it’s ready when it:
- Doubles in size within 4 to 8 hours
- Shows lots of bubbles throughout
- Smells sweet and yeasty
- Passes the float test (though I rarely bother with this anymore)

Sourdough Starter FAQ
These are the questions I get asked most often, and my honest answers based on real experience:
Nothing bad. It will be hungry and may have hooch on top. Discard all but 50g, feed equal weights of flour and water, and it should double again within 12 hou
At room temperature, it can go 2 to 3 days without feeding and still recover, though it will need a few feedings. In the fridge, it can go several weeks, and I’ve revived mine after 2 months
No. Feeding times are a guideline. At room temperature, I feed about every 12 hours, but being a few hours early or late won’t hurt it. Watch your starter instead of the clock. Feed it when it has peaked and started to fall.
Usually, yes, especially if it was in the fridge. Pour off the hooch, discard all but a small amount, and feed it every 12 hours. It may take 3 to 5 days to get back to full strength. If you see mold or it smells rotten instead of sour, start over
Check in this order:
Mold (fuzzy spots, or pink or orange streaks): Dump it and start over.
Rotten smell (not sour, actually foul): Dump it and start over.
Hooch on top: Hungry. Pour it off and feed.
Flat, no bubbles: Hungry. Feed every 12 hours.
Sour, vinegary, or nail polish smell: Hungry. Feed every 12 hours and it will mellow.
Rises and bubbles within a day or two of feeding: Alive and well.
Leaving it out on the counter in warm weather without feeding it. That’s the only way I’ve ever killed a starter. Heat makes it burn through its food fast, and a hungry, warm starter is where mold moves in. If you can’t feed it on schedule, put it in the fridge.
Trust your senses. Look for:
Deflated appearance
Liquid on top
Strong sour smell
No bubbles
I’ve kept just 25g of mature sourdough starter. It’s plenty, creates less waste, and works perfectly. However, I usually keep a lot more because I bake in large quantities
Absolutely! I adjust mine based on:
My baking schedule
Storage method
Flour type
Season and ambient temperature
It’s recommended that you stir your sourdough with nonreactive spoons in nonreactive bowls. That means using spatulas or wooden spoons and storing the starter in glass bowls or jars. The reason is that sourdough is acidic, and acid reacts with metal.
However, I have a metal spatula that I use and no one has died. 😉
You want to keep your starter in a warm spot, but yeast and sun don’t mix well. If you put it in a sunny window, place the jar in a box or other opaque container to keep it out of direct sunlight
Final Tips for Sourdough Success
After more than six years of sourdough baking, here’s what I know for sure:
- Sourdough is nearly impossible to kill
- Simpler is usually better
- Your starter will adapt to your schedule
- Quality ingredients matter
- Trust your observations over any recipe
Remember, every starter develops its own personality. What works for me might need tweaking for you. Pay attention to your starter’s behavior and adjust accordingly. And most importantly, don’t stress! I’ve revived my starter from what seemed like certain death multiple times. These little colonies of wild yeast are incredibly resilient.
Happy baking, and welcome to the wonderful world of sourdough!
[Photo: sourdough]
What to Make with Sourdough Starter
- Simple & Delicious Sourdough Bread Recipe with Sample Timelines
- Sourdough Mischbrot: Freshly Milled Rye Bread Inspired by German Bakeries
- Fluffy, Flaky Sourdough Discard Biscuits
- Delicious Sourdough Dinner Rolls Made with Sourdough Discard
- Sourdough Blueberry Crumb Cake
- Sourdough Stuffing Recipe with Roasted Red Onion, Kale, and Sausage
- 31 Sourdough Discard Recipes

Beginner’s Guide to Caring for & Feeding Sourdough Starter
Ingredients
- 50 grams unfed sourdough starter
- 50 grams water
- 50 grams flour
Instructions
- Measure out your starter on a digital scale. You want equal weights of starter, flour, water.
- Note the weight of your starter and zero out the scale.
- Add the same weight of water and zero out the scale.
- Add the same weight of flour.
- Stir well to combine then place the fed starter in a jar. Cover with a piece of cheesecloth secured by a rubber band.
- Note the level of starter by drawing a line on your jar or by placing a piece of colored tape at the starter level.
- Put the jar in a warm spot. If it doubles in 4-8 hours, you're ready to bake. If it doesn't double, you'll need to feed it again.
- To feed again, discard half the starter, weigh the remaining starter, and begin the process over again.
- Keep the discard in a covered jar in the fridge.















I truly enjoyed reading this article. I was wondering do you have a sourdough book for beginners? I loved your step by step and wanted to actually have a book to make notes.
Thank you for the breakdown, I have asked questions in a group chat but don’t always get my questions answered.